Creating an Expert in ThreoAI
Create an Expert in ThreoAI - give it a name, instructions, prompt starters, training documents, actions, and sharing using the five-tab Expert editor in Studio.
Overview
Section titled “Overview”An Expert is a reusable AI assistant you set up once and use again and again. You give it a role through its instructions, optionally feed it your own documents as a knowledge base, and you can wire it up to take actions. Once saved, an Expert shows up in your My Experts list and you can drop it into any chat.
Experts were previously called Custom GPTs. The behavior is the same idea, with a clearer editor and a few new capabilities (actions, memory, and self-service sharing).
You build and manage Experts in Studio. Open Studio from the left sidebar and select the Experts tab, then choose Create New Expert.

The Expert editor
Section titled “The Expert editor”The editor opens as a dialog with five tabs:
| Tab | What you set up |
|---|---|
| General | Name, description, instructions, and prompt starters |
| Training | Documents the Expert can draw on as a knowledge base |
| Tools | Actions the Expert can take (see Actions below) |
| Memory | What the Expert remembers for you across conversations |
| Sharing | Who can use the Expert |
Only the General tab is available before you save. Save the Expert once and the other four tabs unlock.
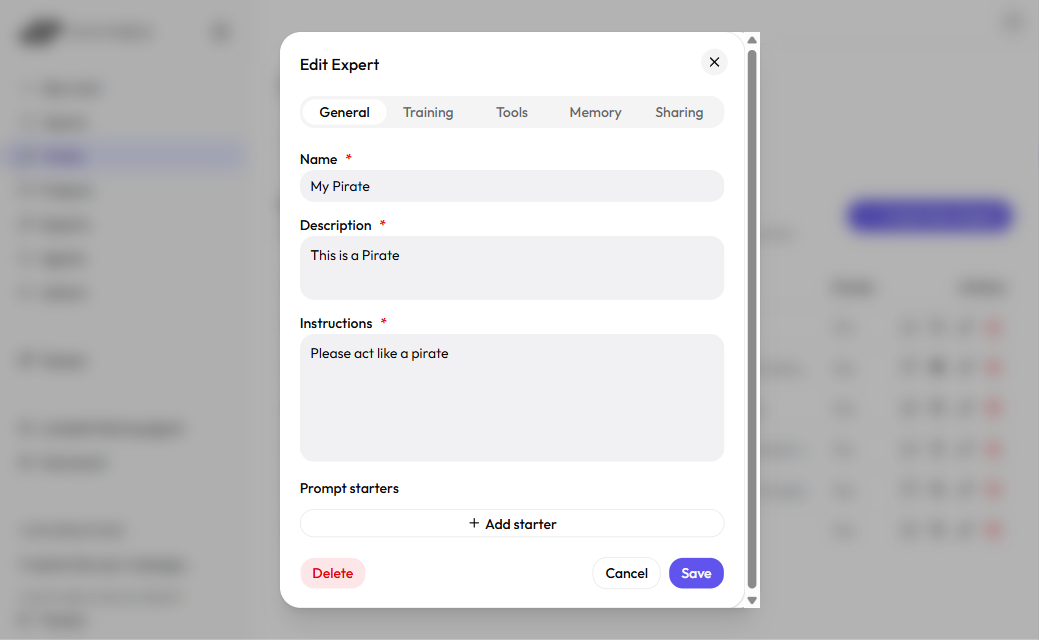
General
Section titled “General”The General tab holds the three required fields and the optional prompt starters.
- Name (required) - what the Expert is called, up to 50 characters. This is what you and your colleagues see in lists and the catalog.
- Description (required) - a short summary of what the Expert does, up to 500 characters. It appears under the name on catalog cards.
- Instructions (required) - the system prompt, up to 48,000 characters. This is where you define the Expert’s role, tone, rules, and what it should and should not do. Be specific: a tightly written instruction set is the single biggest factor in how well an Expert performs. If you paste more than the limit, the editor shows an error rather than silently trimming your text, so nothing is lost without warning.
- Prompt starters (optional) - suggested first messages that appear when someone opens the Expert. Select Add starter for each one, up to 300 characters each. Good starters show people what the Expert is for.
After you fill in the three required fields, select Save. The dialog stays open so you can move on to the other tabs.
Writing good instructions
Section titled “Writing good instructions”Treat the instructions as the Expert’s job description. A few things that help:
- State the role plainly: “You review vendor contracts for missing liability clauses.”
- List the rules the Expert must follow, and the things it must never do.
- Tell it how to handle questions outside its scope.
- If it has training documents, tell it to answer from those first.
Training
Section titled “Training”The Training tab is where you give an Expert its own knowledge base. Upload documents and the Expert can draw on them when it answers.
Supported file types: PDF, DOCX, PPTX, XLSX, and TXT.
Each document is processed in the background - it is split into sections and indexed so the Expert can pull the relevant parts into a conversation. A document moves through pending, processing, and ready; it is searchable once it shows ready. You can remove a document or retry one that failed from the same tab.

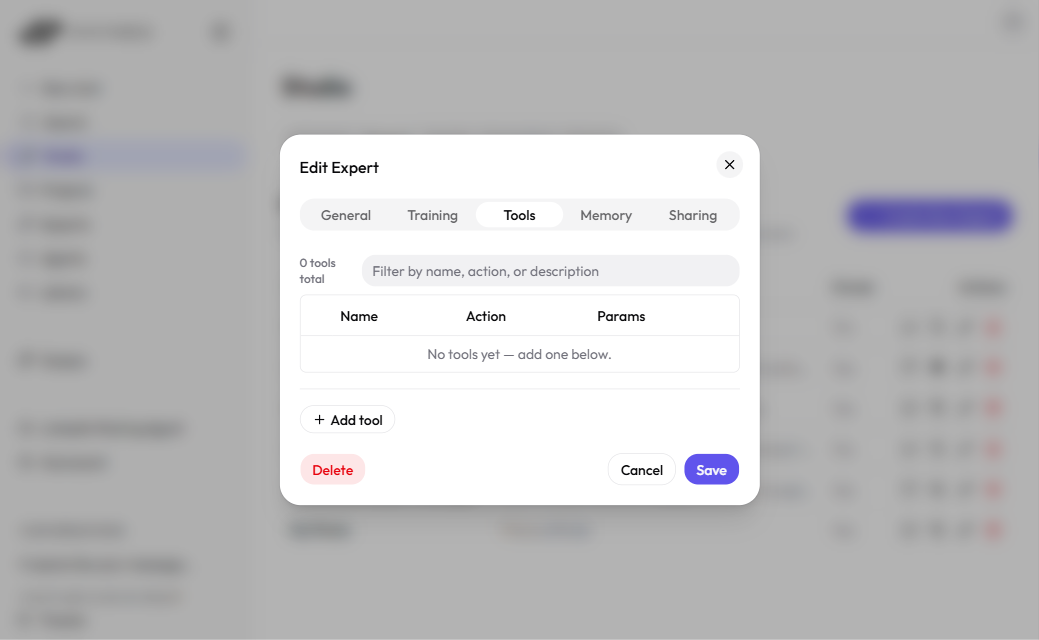
Actions
Section titled “Actions”The Tools tab is where you give an Expert actions - calls it can make to do something beyond answering from text, such as looking something up in another system or kicking off a workflow. We call these actions in this guide; the editor tab is labeled Tools.
Each action has:
- a name the model uses to call it,
- an endpoint or action it maps to,
- a description that tells the model when to use it, and
- a set of parameters, each with its own name and description.
Actions are backed by Builder workflows. If you want an Expert to reach into another system, build the workflow in Builder first, then wire it up here. See the Builder documentation for how to create workflows and agents.
Memory
Section titled “Memory”The Memory tab shows what the Expert has remembered for you across your conversations with it. Memory is per person - what the Expert remembers for you is separate from what it remembers for a colleague, even on a Shared Expert.
The summary fills in over time as you use the Expert; it is not something you type in. If you want a clean slate, select Reset assistant memory to clear your own memory for that Expert.
Sharing
Section titled “Sharing”A new Expert is Private to you. To let other people use it, open the Sharing tab and choose a visibility level, or transfer ownership to someone else. Sharing is self-service and takes effect immediately.
For the full walkthrough, see Sharing an Expert.
Frequently Asked Questions
Section titled “Frequently Asked Questions”Why are the Training, Tools, Memory, and Sharing tabs greyed out? They unlock after you save the Expert for the first time. Fill in the General tab, select Save, and the rest become available.
What is the difference between Description and Instructions? Description is the short blurb people see on the Expert’s card. Instructions are the system prompt the model follows on every turn - they shape the Expert’s behavior and are not shown to users.
Do I have to add training documents? No. Training documents are optional. An Expert with clear instructions and no documents works fine; documents help when you want it grounded in your own material.
Can an Expert use web search and file uploads like a normal chat? Yes. Conversations with an Expert support the same chat features, including attaching files. See Using an Expert.
Related
Section titled “Related”- Using an Expert - open and chat with an Expert
- Sharing an Expert - control who can use it
- Studio Overview - where Experts, Agents, Connectors, and Projects are built
- Welcome to Builder - build the workflows that power Expert actions